NSS Background Remover
Replacing a background and matching the lighting
A believable composite is 10% cutout and 90% making the subject belong in its new scene. How to replace a background — a solid color or your own photo — and match exposure, color, and shadow so the seam disappears.
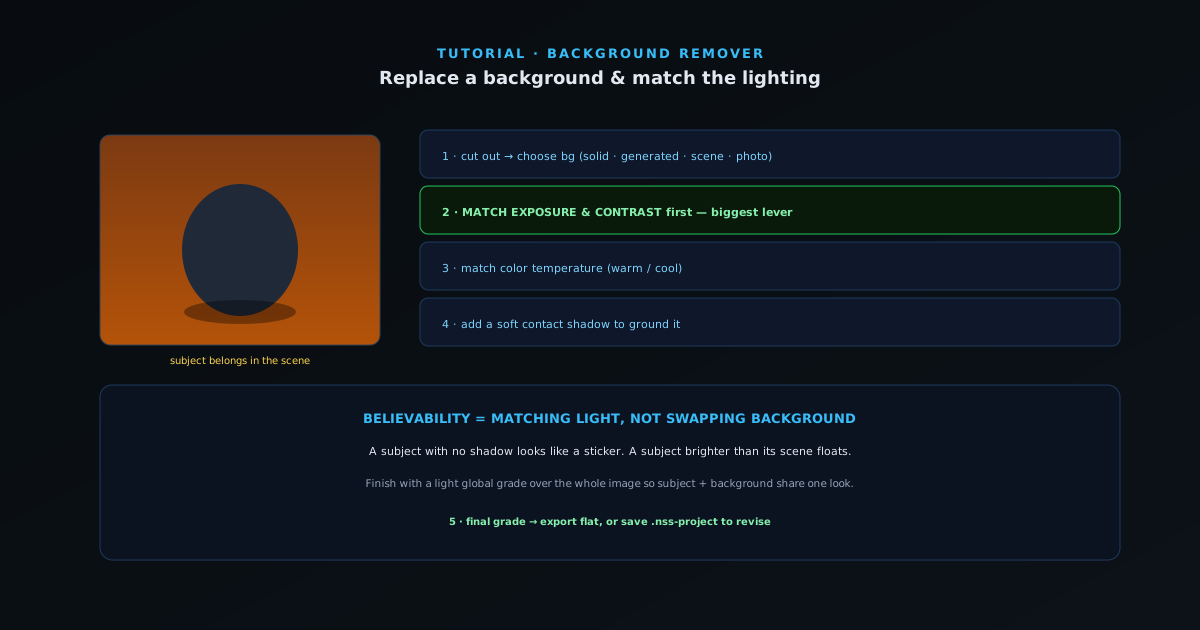
Cutting the subject out is the easy part. Making it look like it was photographed in its new background is the skill. This guide covers replacing the background and — the part that actually matters — matching the light so the result reads as one photo, not a paste-up.
Contents
- 1
1. Cut out, then choose a new background
Remove the original background, then decide what replaces it: a solid color or brand color, or your own photo brought in as a layer. Drop the cutout onto either of these in the editor and build the composite around the subject.
- Solid/brand color or your own photo.
- 2
2. Match exposure and contrast first
The eye reads brightness before color. If the subject was shot brighter or flatter than the new background, it floats. Nudge the subject’s exposure and contrast toward the background using the editor’s adjustments until the overall light level matches. This single step fixes most unbelievable composites.
- Match the subject’s brightness/contrast to the scene.
- This is the biggest believability lever.
- 3
3. Match color temperature
A subject shot under cool office light dropped onto a warm sunset will always look pasted. Warm or cool the subject so its color cast matches the background’s light. Use the editor’s filters and color adjustments — temperature, exposure, and tone — to pull the subject’s color toward the background and bring them into the same world.
- Warm/cool the subject to match the scene’s light.
- Filters and color adjustments nudge the subject’s tone toward the target.
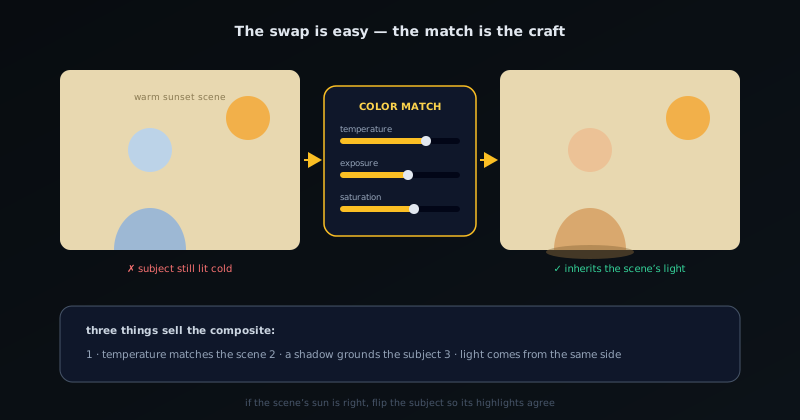
The swap is easy; the match is the craft — temperature and exposure sell the composite. - 4
4. Ground the subject with a shadow
A subject with no shadow looks like a sticker. Add a soft contact shadow where the subject meets the ground or surface, in the direction the scene’s light implies. It does not need to be dramatic — a subtle shadow is the difference between floating and standing.
- Add a soft contact shadow in the scene’s light direction.
- 5
5. Final blend and export
Apply a light global grade over the whole image so the subject and background share the same final look, check the edge for any leftover spill against the new background, and export. A flattened PNG/JPG for sharing, or save the layered .nss-project to revise later.
Match light, not just background
Anyone can swap a background; believability comes from matching exposure, color temperature, and adding a grounding shadow. Spend your time there. A final global grade over the whole composite is the trick that makes a subject and a separately-shot background feel like one photograph.
Frequently asked questions
Quick answers to common questions about this topic.
How do I replace a background and make it look real?
Remove the original background, place the subject on the new one, then match lighting and color so the composite looks natural. The editor's filters and color adjustments — exposure, temperature, and tone — blend the subject into the scene.
Why does my replaced background look fake?
Usually mismatched lighting direction or color temperature between subject and background. Adjust the subject's light and tone to match the new scene, and feather the edge for a seamless blend.