NSS Background Remover
Edge refinement: getting a perfect transparent background
The difference between a good cutout and a perfect one is the last 5% of the edge. How to use the edge-refine and decontamination controls in the editor to kill halos, recover soft detail, and export a flawless transparent background.
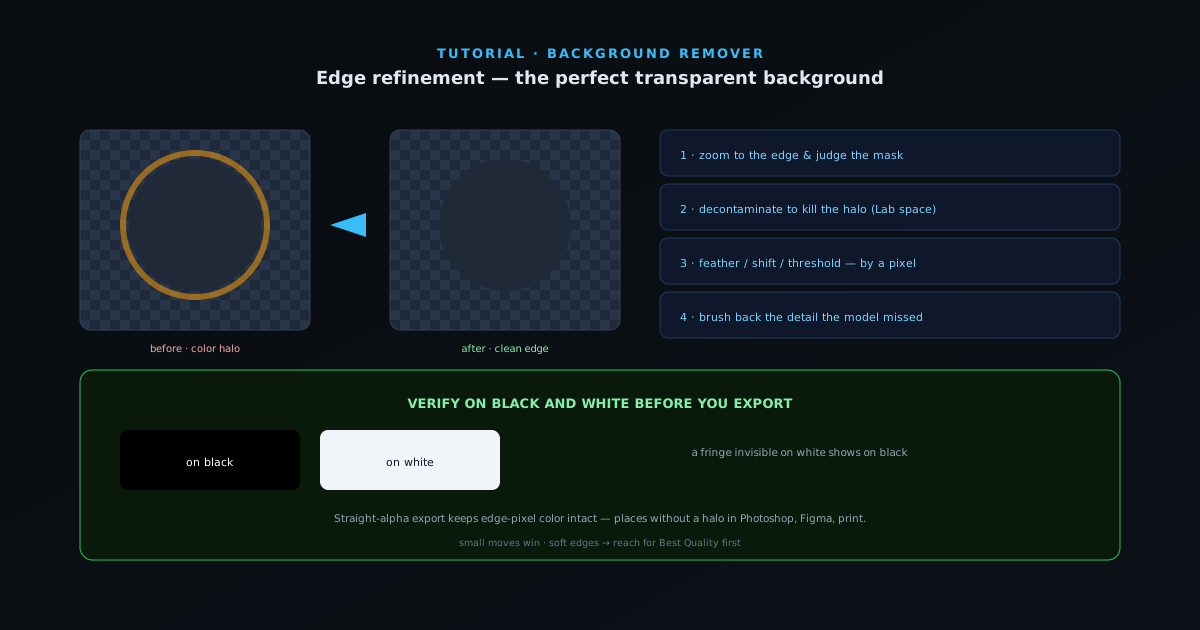
The AI gets the mask 95% right on the first pass. A perfect transparent background lives in the remaining 5% — the edge — where leftover background color, a too-hard or too-soft boundary, or a missed wisp of hair gives the cutout away. This guide is about owning that edge using the refinement tools in the editor.
Everything here runs on-device, so you can refine, undo, and re-refine as many times as you like without re-uploading anything.
Contents
- 1
1. Zoom to the edge and judge the mask
Before touching a control, zoom in to 100% or more along the boundary — the soft areas (hair, fur, motion blur, fabric) and the high-contrast areas where spill is most visible. Because the mask stores a smooth opacity value per pixel rather than a hard on/off, soft edges should look feathered, not jagged. If they look chewed, that is a signal to switch to the Best Quality model and re-process before refining by hand.
- Inspect hair, fur, and motion-blurred edges at full zoom.
- A jagged soft edge → re-run on Best Quality first.
- 2
2. Decontaminate to kill the halo
A halo (a faint ring of the old background color around the subject) is the most common cutout flaw. NSS Background Remover runs an automatic Lab-colorspace decontamination pass that removes color spill from edge pixels, which is why your export does not fringe on a new background. When a stubborn halo remains — common with a bright or saturated original background — strengthen the decontamination so the edge pixels take their color from the subject, not the backdrop.
Pair this with straight-alpha export (the default): the RGB of semi-transparent edge pixels is preserved so the halo never reappears when you composite onto a light or dark background.
- Automatic Lab-space spill removal on every cutout.
- Increase decontamination strength for bright/saturated backgrounds.
- 3
3. Tune the edge: feather, shift, and threshold
Use the edge controls to match the boundary to the subject. A slight feather softens a too-crisp edge so a person does not look cut out with scissors; tightening recovers a crisp product edge that came back fuzzy. Shifting the edge inward by a pixel removes a thin background rim; shifting out recovers a subject that was clipped. Make small moves — edge work is measured in one or two pixels, not ten.
- Feather for soft subjects, tighten for hard product edges.
- Shift the edge in/out by a pixel to trim a rim or recover detail.
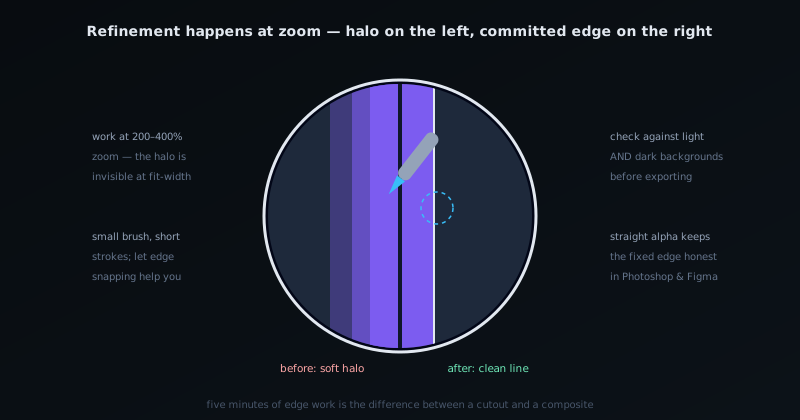
Refinement happens at zoom — the brush turns a soft halo into a clean, committed edge. - 4
4. Brush back the detail the model missed
Switch to the brush for the spots no global control can fix — a wisp of hair against a busy background, a gap inside a handle, the tip of a fur strand. Paint the subject back in or erase stray background, using a soft brush on soft edges and a hard brush on crisp ones. Constrain edits with a selection so a stroke cannot bleed where it should not. This is where a publishable cutout is won.
- Brush back hair/fur; erase stray background.
- Soft brush for soft edges, hard for crisp ones.
- Use a selection to contain strokes.
- 5
5. Verify on black and white, then export
Toggle the preview between a light and a dark backdrop before you export — a fringe that is invisible on white almost always shows on black, and vice versa. When the edge is clean on both, export as a transparent PNG (or WebP/AVIF). The straight-alpha output places without a halo in Photoshop, Figma, and any tool that handles real transparency.
- Check the edge on both black and white backgrounds.
- Export straight-alpha PNG/WebP/AVIF.
Small moves, both backgrounds
Edge refinement rewards restraint: a pixel of feather or shift usually does more than a big adjustment. Always verify on a dark and a light background before calling it done — it is the fastest way to catch a halo. And if the soft edges are fighting you, the higher-quality model almost always beats manual brushing on hair and fur. The app’s own help center has even deeper, always-current edge-refinement reference if you need it.
Frequently asked questions
Quick answers to common questions about this topic.
How do I get perfectly clean edges on a cutout?
Use the Best Quality model for tricky edges, then the brush refinement tools to fix any stray or missed areas. Edge decontamination removes color spill so the boundary stays clean on a new background.
Why do my cutout edges look rough?
Usually a low-detail model or a contaminated edge from the old background. Switch to the high-quality model and refine the edge; the tool's straight-alpha export prevents halos.